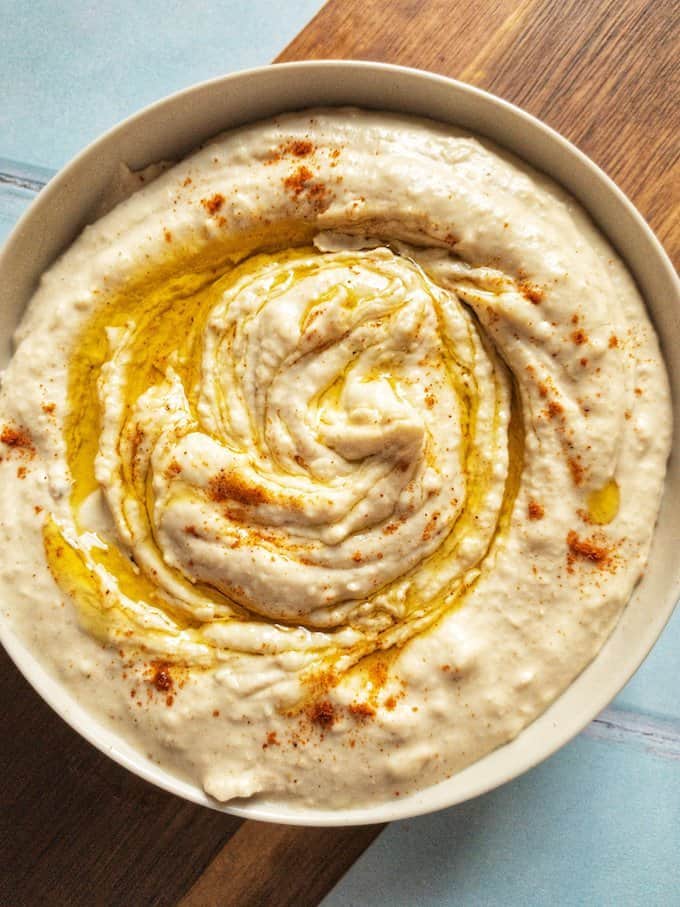
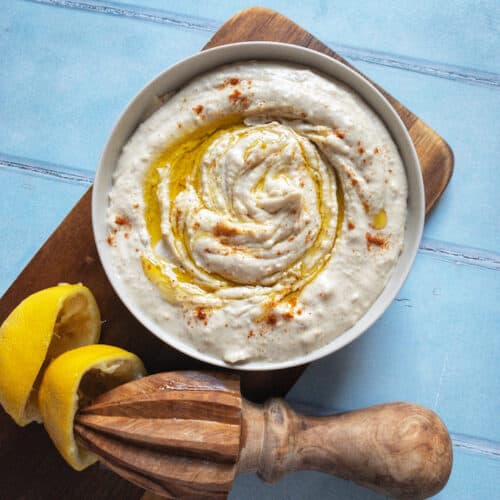
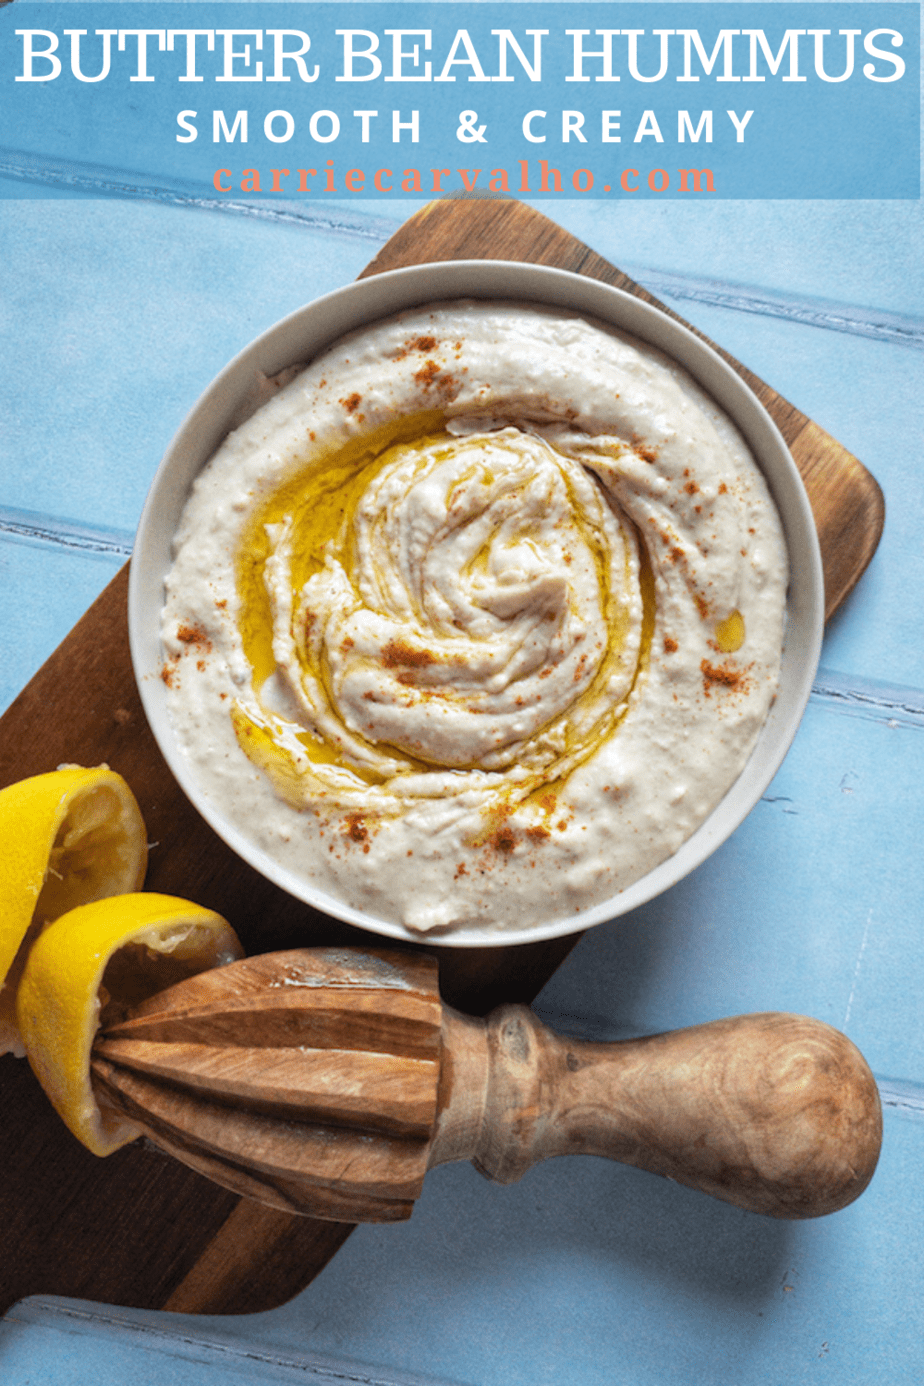
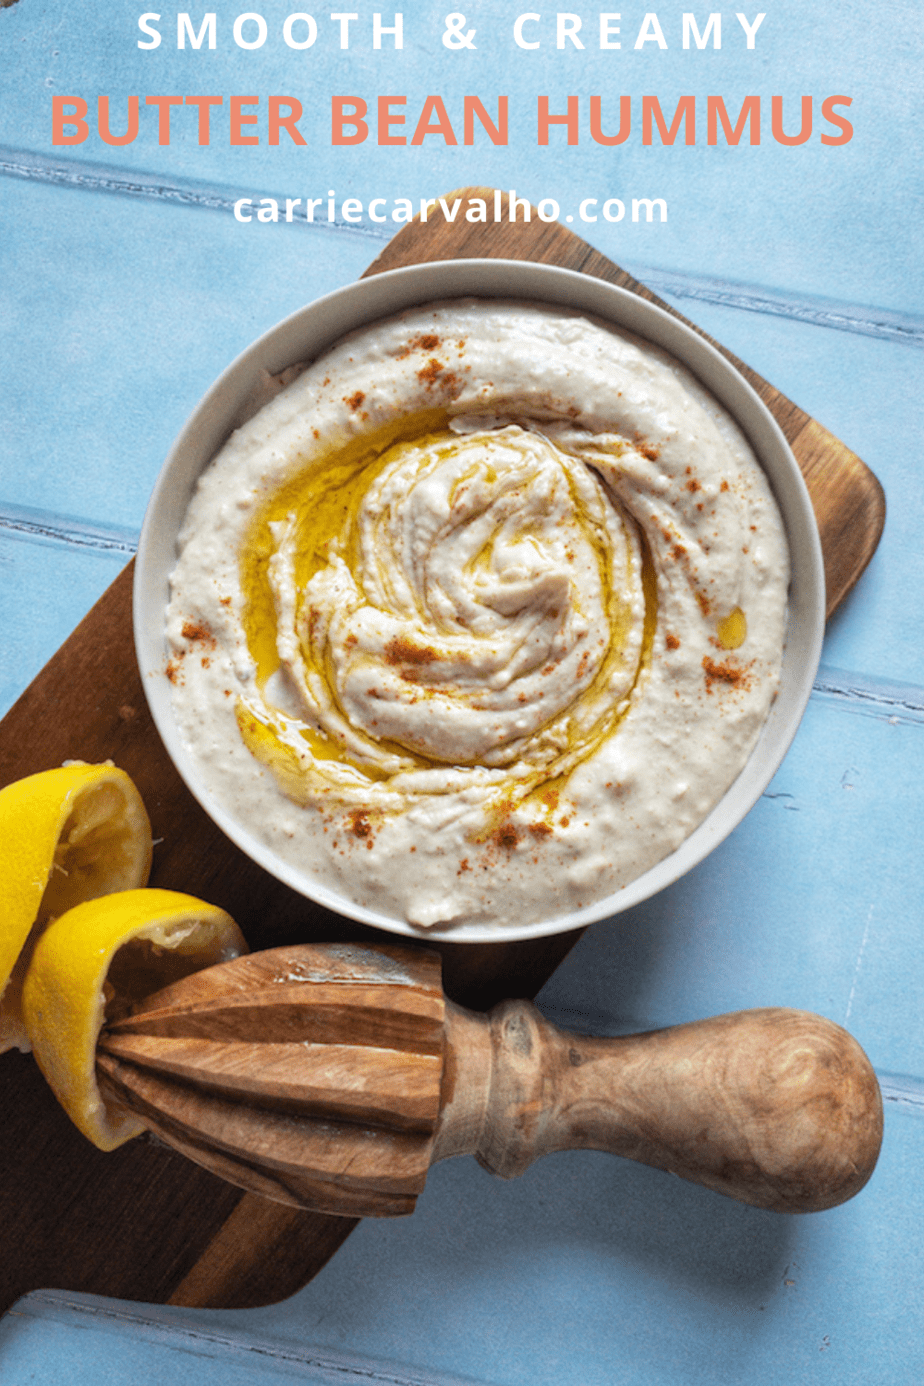
Smooth & Creamy Butter Bean Hummus
Butter Bean Hummus is my take on the classic with white beans replacing the chickpeas for a lush and creamy dip. Perfect spread on toast or served with veggie crudités for dipping.
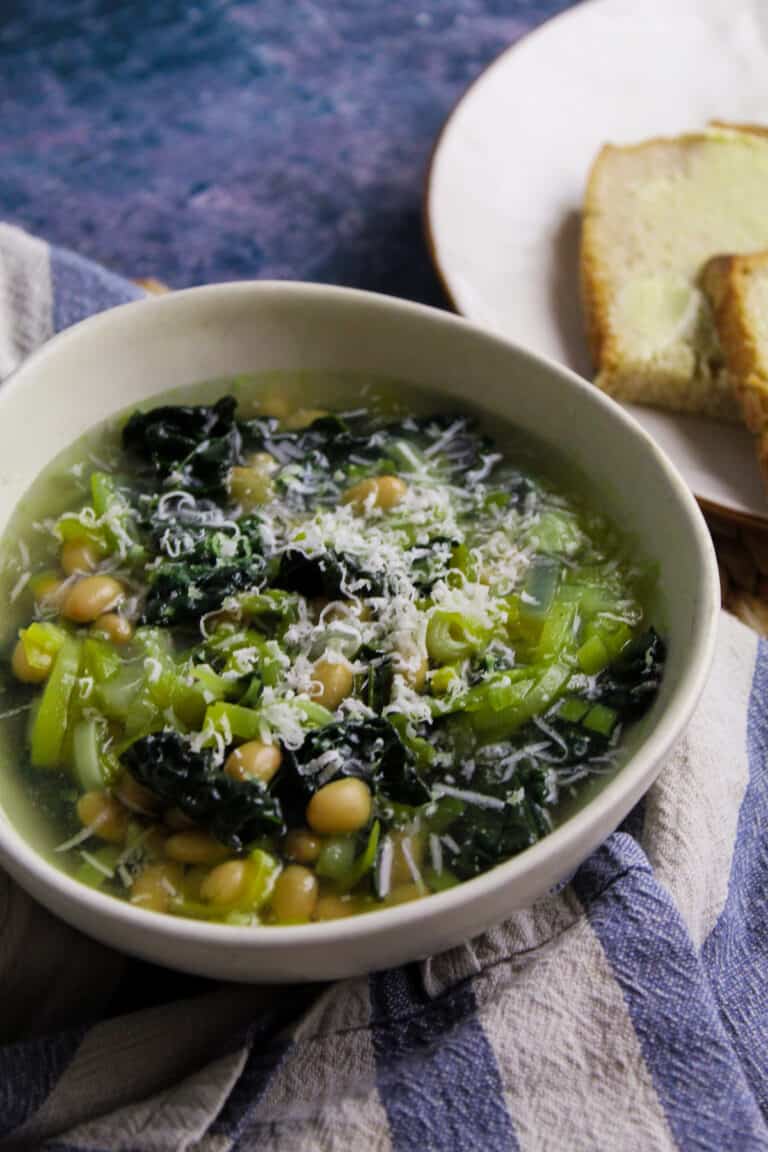
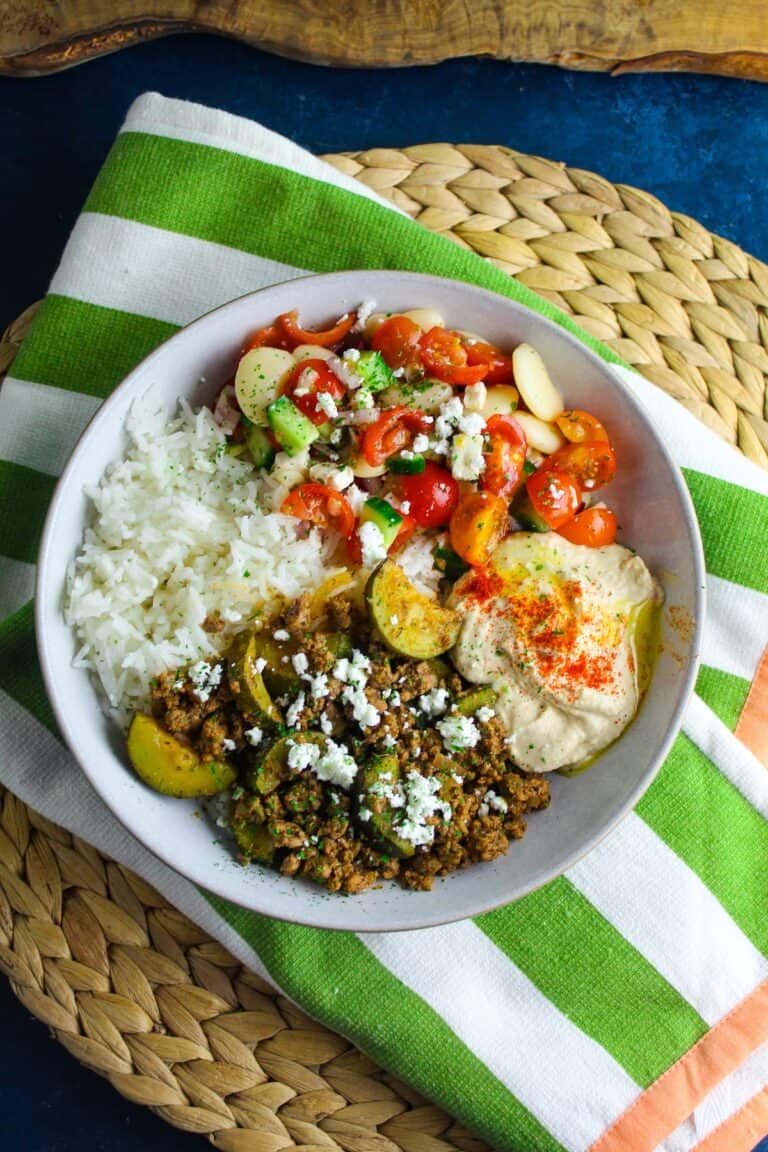
Butter Beans have become my go-to for hummus. They create a lush and decadently creamy dip without the effort of peeling a whole can of chickpeas! Perfect as a dip or served with a salad like my Mediterranean Halloumi and Bulgur Salad.
My basic recipe is included here but it is really easy to add your own twist on the flavour. Fresh chopped herbs, caramelised onions or roasted red peppers are all excellent additions to blend in.
White Bean Hummus
Butter Beans, or Lima Beans are my favourite for this recipe, but Cannellini beans or any white bean also work well. I typically use canned beans for ease (and speed). You can cook dried beans and use them in this recipe but honestly, for hummus, it’s just not worth the effort (or time).
How to Prepare
This Butter Bean Hummus is so super easy and comes together in literally five minutes! You simply need to gather all your ingredients together and throw them in a blender or food processor. It will last a good 3-4 days in the fridge too, so I love whipping up a batch to use for snacks, sandwiches and lunches through the week.
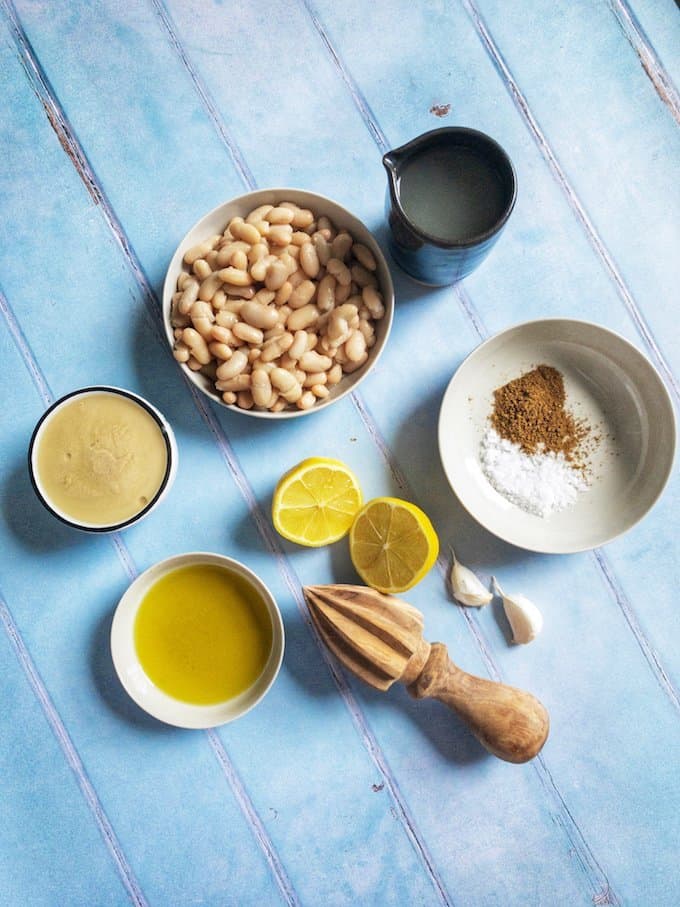
Ingredients
- Butter Beans – or your favourite white beans. Use canned for ease.
- Aquafaba – the liquid from the can the beans are stored in. It has many other uses and can be an excellent vegan egg substitute, so don’t discard it!
- Tahini – sesame seed paste, which can be readily found in most supermarkets. I have heard that sunflower seed or cashew butter make good substitutes but I have not tested either.
- Olive Oil
- Lemon
- Cumin
- Garlic
- Salt
- To Garnish – a drizzle of olive oil and a sprinkle of smoked paprika
- Optional Add-Ins – Elevate your hummus by using roasted garlic instead of fresh, or blend in some roasted peppers or caramelised onions, or your choice of fresh herbs.
Aquafaba
Aquafaba is literally bean juice. It might sound weird if you have never heard of it before, but aquafaba is the cooking liquid from beans or chickpeas. If you use canned beans it is the liquid they are stored in, which you would normally drain out (but now you know better!)
Yes! Many people believe aquafaba comes solely from chickpeas or garbanzo beans but any type of bean can produce it, though the consistency and flavour can vary slightly from bean to bean.
Aquafaba helps to get the texture of hummus perfectly smooth and creamy. It is often used as a egg replacement for vegan baking as it whips up beautifully with a light and smooth texture.
It is most commonly used as a vegan alternative to eggs for meringues and home baking. Aquafaba can also be used in the place of egg whites in cocktail recipes. I personally love to use my leftovers to make a cocktail to serve alongside my hummus – an Amaretto Sour would be my first choice.
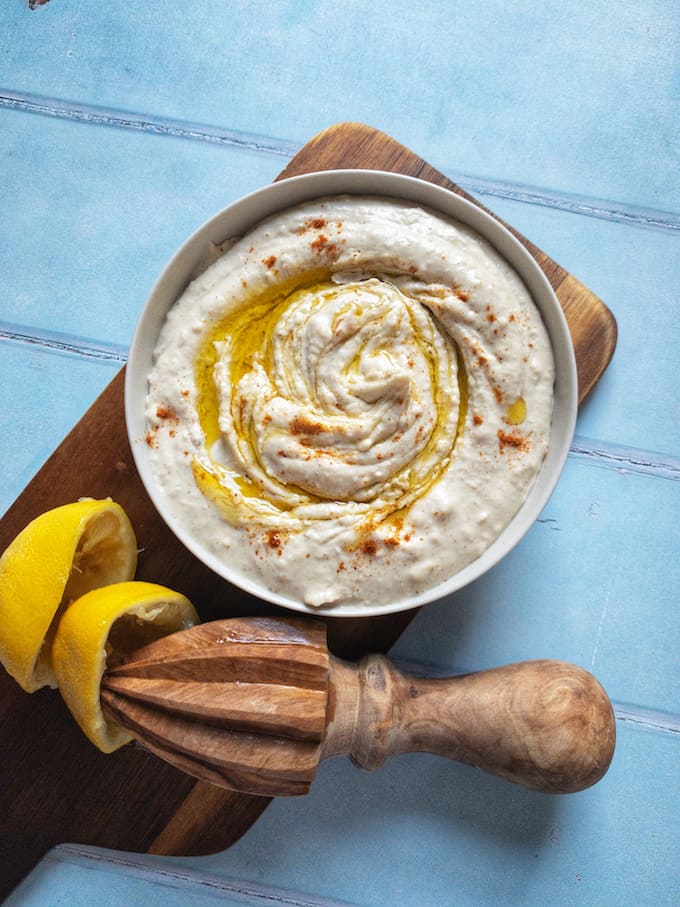
Serving Suggestions
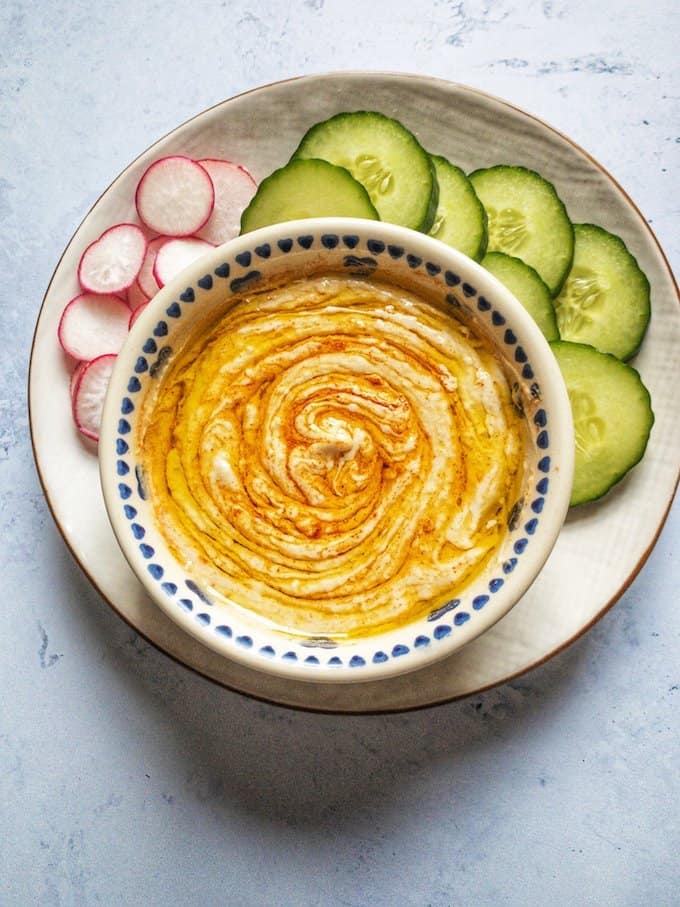
Best serving suggestion is, of course, as a dip for pitta chips or your favourite veggie crudités and crackers, sprinkled with some smoky paprika and a drizzle of olive oil. I also love adding a dollop to salads or using in place of mayo or butter in sandwiches or wraps.
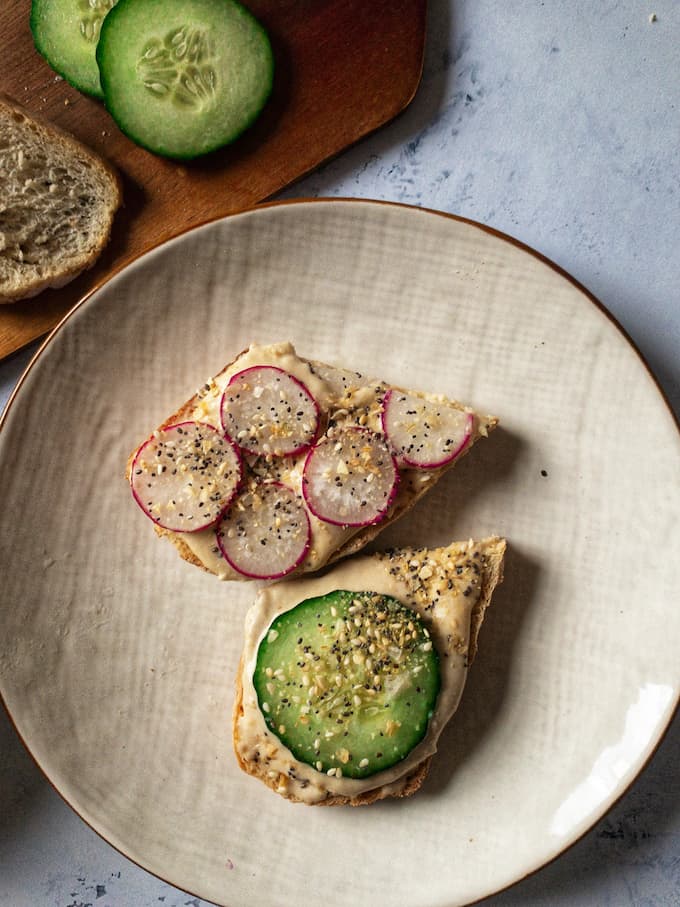
But my ultimate hummus snack has to be a slice of toasted sourdough slathered with hummus and topped with sliced radishes or cucumber and a sprinkle of Everything seasoning.
I hope you like this recipe as much as I do!
Don’t forget to rate the recipe and leave a comment if you make it.
Your feedback is really important and helps me keep making recipes you love!
More Recipes for Fuss-Free Entertaining:
Butter Bean Hummus
Equipment
Ingredients
- 400 gram (14 oz) tin butter beans or any white beans
- juice from 1 lemon
- 2 tbsp olive oil
- 1/3 cup tahini
- 1/2 tsp ground cumin
- 2 garlic cloves
- 3/4 tsp salt
- 1-3 tbsp aquafaba reserved water from the can of beans
Instructions
- Drain your beans, keeping some of the liquid from the can.
- Juice your lemon and peel your garlic cloves.
- Add all your ingredients to your food processor – I like to start with just 1 tablespoon of the aquafaba and add more as I'm blending to get my desired consistency.
- Blend until you have a delicious creamy dip and season to taste.
Notes
This recipe has been linked to #CookBlogShare hosted by Sisley at SewWhite and Run by Sisley and Chloe at Feast Glorious Feast.


what a lovely twist to switch up chickpeas with white beans in this yummy hummus recipe1
I love hummus and particularly playing about with other ingredients and flavours. I’m definitely giving this a try as butter beans have a great creamy texture.
This sounds delicious! I can imagine so many tasty ways to eat this.
Butter beans are my favourite white bean. They seem to give a creamier result than any of the others. I guess the clue is in the name. Love the sound of your hummus and I’m now craving it quite badly.